Password managers are non-negotiable in 2026. If you're still reusing the same three passwords across forty accounts, you're one data breach away from a very bad week.
The catch is that most good password managers cost money. 1Password is about $36 a year. Bitwarden's premium plan is $10 a year. Dashlane is even more expensive. For most people that's fine — your passwords are worth more than the subscription.
But if you already have a Raspberry Pi sitting in a drawer, there's a better option: Vaultwarden. It's a free, open-source server that's 100% compatible with the Bitwarden apps. You run it on your Pi, point the Bitwarden apps at it, and every password, passkey, and two-factor code you store lives in your own house. No subscription. No cloud. No company in between you and your logins.
This is one of the most satisfying Pi projects I've ever done, because the thing you build is something you actually use every single day. The whole setup takes about an hour once you have the parts. Let's walk through it.
What Vaultwarden actually is
First, a quick clarification because the names are confusing. Bitwarden is the big, well-known password manager company. They make the server code, the apps, the browser extensions, and they sell a hosted service. Vaultwarden is a completely separate open-source project that re-implements the Bitwarden server in Rust. It's much lighter, runs on very small hardware like a Pi, and speaks the exact same protocol as the real Bitwarden server.
That last part is the magic. You install Vaultwarden on your Pi, and then you use the official Bitwarden apps on your phone, laptop, and browser — same apps you'd use if you were paying for the hosted service. The apps don't know or care that they're talking to your Pi instead of Bitwarden's cloud. Every feature works: secure sharing, two-factor codes, passkeys, file attachments, emergency access, the password generator, the watchtower for breached accounts, all of it.
The one thing Vaultwarden can't do is magically appear on the public internet. You're going to be running it on your home network. That's a feature, not a bug — your passwords never leave your house — but it means you need to think about how to reach your vault when you're traveling.
More on that in a minute.
"Why not just use the free Bitwarden cloud?"
This is a fair question and the honest answer is: for a lot of people, that's the right call. Bitwarden's free tier is genuinely generous. It covers unlimited passwords, unlimited devices, and the core security features, and you're trusting a company that has been audited and has a solid track record.
The reasons to run Vaultwarden on your own hardware instead are specific:
- You want the paid features (file attachments, TOTP codes, emergency access) without paying the $10/year subscription.
- You want your passwords to live in your house, not on someone else's server, full stop.
- You already run a home lab and adding one more service is easy.
- You want the learning experience of setting up your own service and maintaining it.
If none of those reasons apply to you, the free Bitwarden cloud is a great product and you should use it. If two or more apply, keep reading — this is for you.
What you need
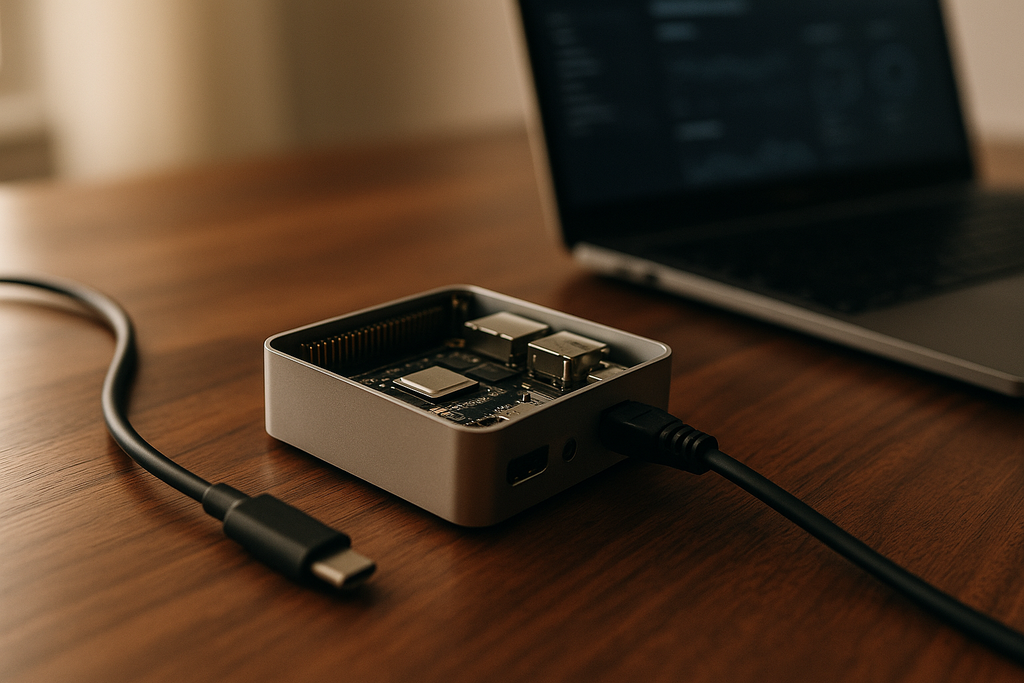
- A Raspberry Pi 4 or Pi 5. Any amount of RAM works. I'm using a Pi 5 with 4 GB because I had one on the shelf, but a Pi 4 with 2 GB is plenty for a personal vault.
- A microSD card, 32 GB minimum. I'd use 64 GB so you have room for backups.
- An Ethernet cable (strongly recommended) or a reliable Wi-Fi connection.
- A USB-C power supply rated for your Pi model.
- Optionally, a small case with passive cooling. Vaultwarden uses almost no CPU, so active cooling is overkill.
Total cost if you're starting from scratch is roughly $75. If you already own a Pi, you might be able to do this for the price of a microSD card.
Step 1: Install Raspberry Pi OS
Download the Raspberry Pi Imager from raspberrypi.com, flash Raspberry Pi OS Lite (64-bit) onto your microSD card, and during the imager setup, click the gear icon. Set a hostname (I use vault), a username and password, enable SSH, and if you're using Wi-Fi, put your credentials in here so the Pi connects on first boot.
Pop the card into the Pi, plug it in, wait about two minutes, and then from another computer run ssh your-username@vault.local. You're in.
Update everything before you do anything else:
sudo apt update && sudo apt upgrade -y
Step 2: Install Docker
Vaultwarden ships as a Docker image, which is the easiest way to run it. Install Docker with the official one-liner:
curl -fsSL https://get.docker.com | sh
sudo usermod -aG docker $USER
Log out and log back in so the group change takes effect. Verify Docker is working:
docker run hello-world
If you see the "Hello from Docker!" message, you're good.
Step 3: Run Vaultwarden
Make a folder for the data and spin up the container:
mkdir -p ~/vaultwarden/data
docker run -d \
  --name vaultwarden \
  --restart unless-stopped \
  -v ~/vaultwarden/data:/data \
  -p 8080:80 \
  -e DOMAIN=http://vault.local:8080 \
  -e SIGNUPS_ALLOWED=true \
  vaultwarden/server:latest
That's it. Vaultwarden is now running. Open http://vault.local:8080 in a browser on the same network and you should see the Bitwarden login screen.
Create your account using a long, strong master password — this is the one password you actually need to remember, so take it seriously. Twelve words from a passphrase generator is a good baseline. Write it down on actual paper and put it somewhere safe.
Once you've created your account, go back to the Pi and turn signups off so nobody else can create an account on your server:
docker stop vaultwarden
docker rm vaultwarden
docker run -d \
  --name vaultwarden \
  --restart unless-stopped \
  -v ~/vaultwarden/data:/data \
  -p 8080:80 \
  -e DOMAIN=http://vault.local:8080 \
  -e SIGNUPS_ALLOWED=false \
  vaultwarden/server:latest
Step 4: Connect the Bitwarden apps
Install the official Bitwarden app on your phone, the Bitwarden browser extension on your laptop, and the Bitwarden desktop app if you want one. On every app, before you log in, tap the gear icon in the top-left corner of the login screen and change the server URL from vault.bitwarden.com to http://vault.local:8080. Then log in with the email and master password you just created.
That's the entire setup. Every password you save from now on lives on your Pi and syncs to every device you own.
Step 5: Remote access
The setup above only works when you're on your home Wi-Fi. That's fine most of the time, but at some point you'll be at an airport and need a password, and you'll want your vault to reach you.
You have three good options, in order of how much effort they take:
- Tailscale. Free for personal use. Install Tailscale on your Pi and on your devices, and you get a private network between all of them that works from anywhere. No ports to open, no firewall rules, no domain name. This is what I use, and it's what I'd recommend to almost everyone.
- A self-hosted VPN. If you already followed my guide to building a personal WireGuard VPN on a Pi, your Vaultwarden is already reachable over that tunnel. Bonus: your whole home network is reachable too.
- A public domain with a reverse proxy. The most flexible option, but also the most work. You need a domain name, a reverse proxy like Caddy or Nginx, an SSL certificate, and a firewall rule. Skip this unless you actually want to learn it.
Step 6: Back it up
Your vault is now the single most important file on your Pi. Back it up.
Vaultwarden stores everything in ~/vaultwarden/data. A daily cron job that tar's that folder and copies it to a USB drive or a second machine is enough for most people. For extra paranoia, copy the tarball to an encrypted cloud bucket as well. Test the restore at least once — an untested backup is just hope.
The honest take
Building your own password manager on a Pi is one of those projects that sounds intimidating and takes an hour. The actual work is: flash a card, install Docker, run one command. The hard part — the cryptography, the sync protocol, the apps — was already done for you by Bitwarden and the Vaultwarden contributors.
What you get in return is a password vault that nobody can subpoena, nobody can breach in a way that affects you alongside millions of other users, and nobody can raise the price of. For the tradeoff of running a tiny computer in your house, you get total control over a piece of data that matters more than almost anything else on your phone.
What to do next
- Flash Raspberry Pi OS Lite onto a card and get SSH working.
- Install Docker and run the Vaultwarden container.
- Connect the Bitwarden apps on every device you own.
- Install Tailscale so you can reach your vault from anywhere.
- Set up a nightly backup cron job and actually test the restore.
If you run into trouble, the Vaultwarden GitHub wiki is excellent and the project's Discord is surprisingly friendly. Most setup problems come down to a typo in the Docker command — if it's not working, double-check the volume mount path first.